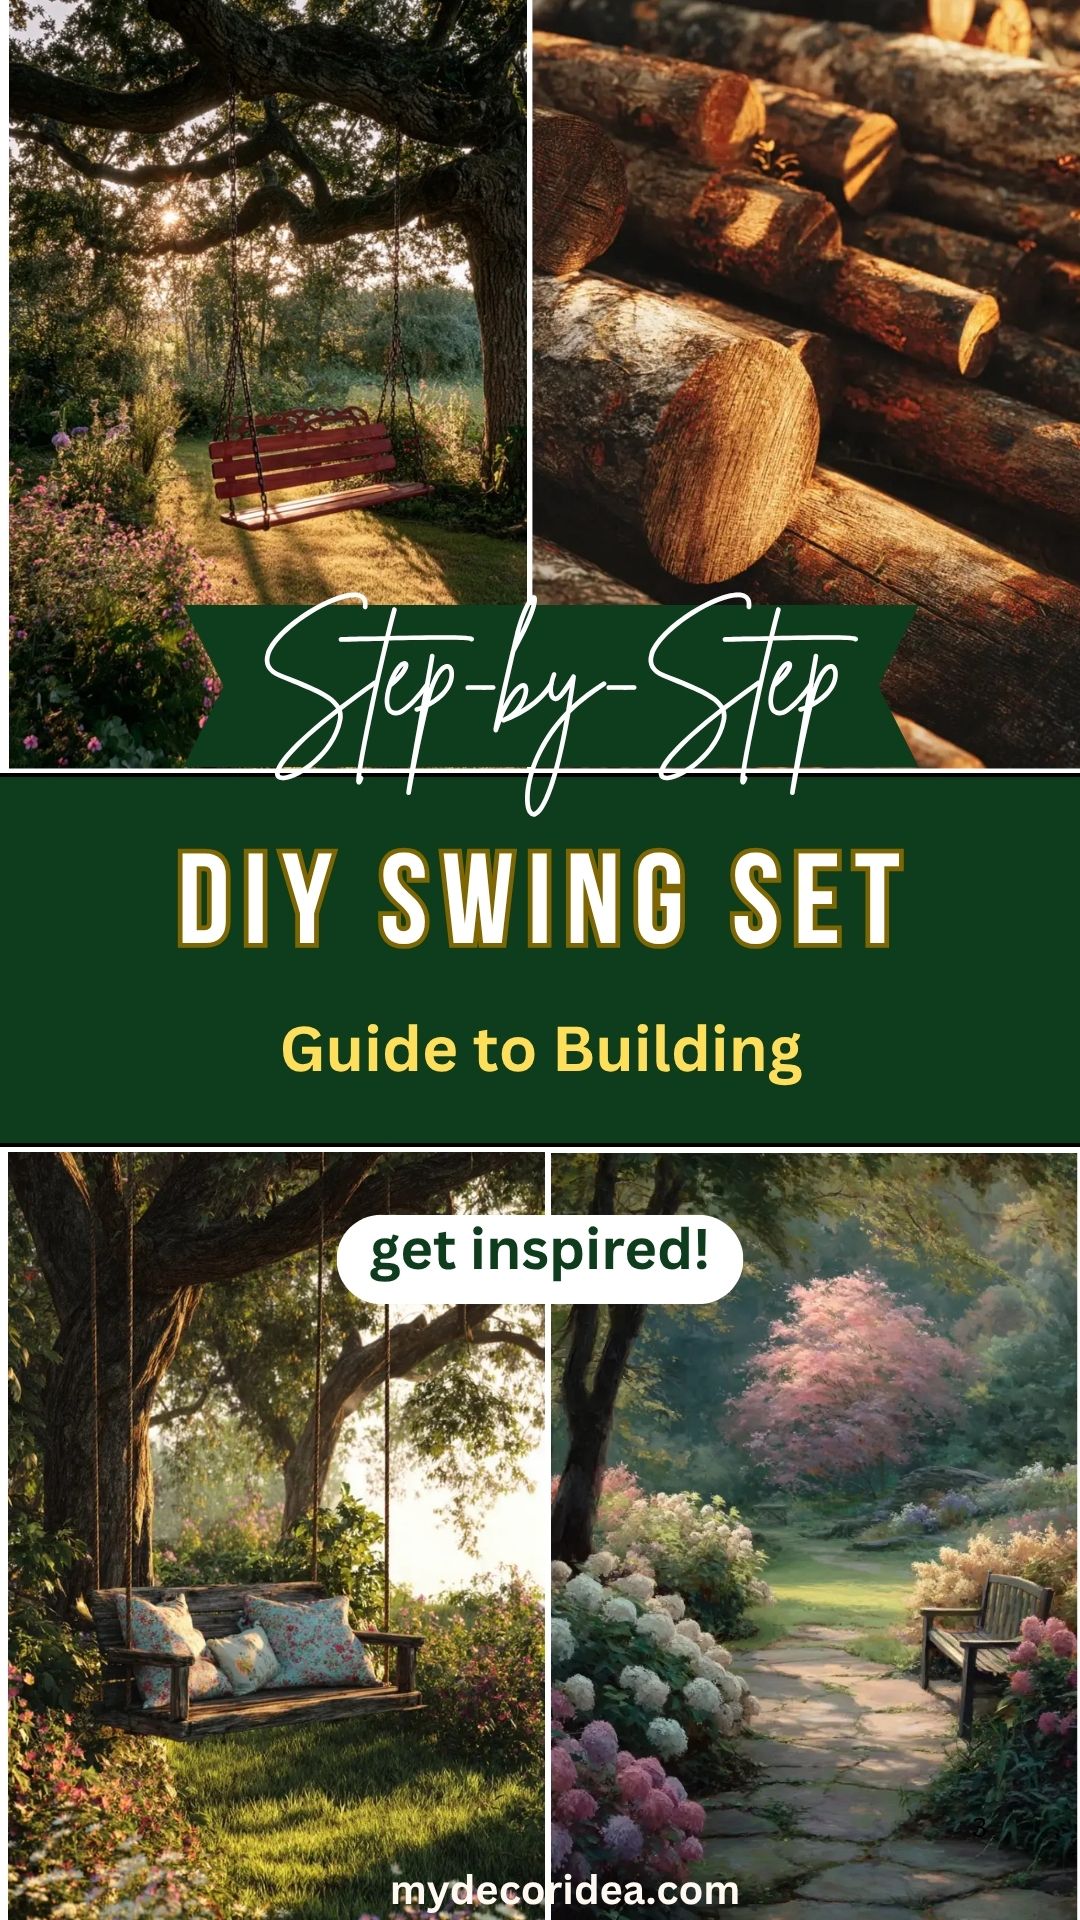
Building a swing set in your backyard isn’t just a project it’s the start of countless joyful afternoons filled with laughter, fresh air, and simple fun. If you’ve been dreaming of giving your kids a place to swing, climb, and play close to home, a DIY swing set is a rewarding way to bring that vision to life.
You might feel unsure where to begin or overwhelmed by all the options out there, but don’t worry. With some straightforward steps, basic tools, and a bit of patience, you can build a sturdy, safe, and charming swing set that fits your space and style.
This guide will walk you through the entire process, from planning and materials to assembly and finishing touches helping you create a backyard centerpiece that will bring smiles for years to come. Ready to get started? Let’s build something special!
1. Plan and Measure Your Space

Flat ground, soft shade, and open surroundings these are the building blocks of a great swing set spot. This garden path, framed by lush blooms and filtered light, highlights the importance of choosing your layout wisely. Before you cut wood or dig holes, sketch out the area and check clearances. A little planning upfront makes the build smoother and the swing safer.
2. Cut Your Lumber to Size

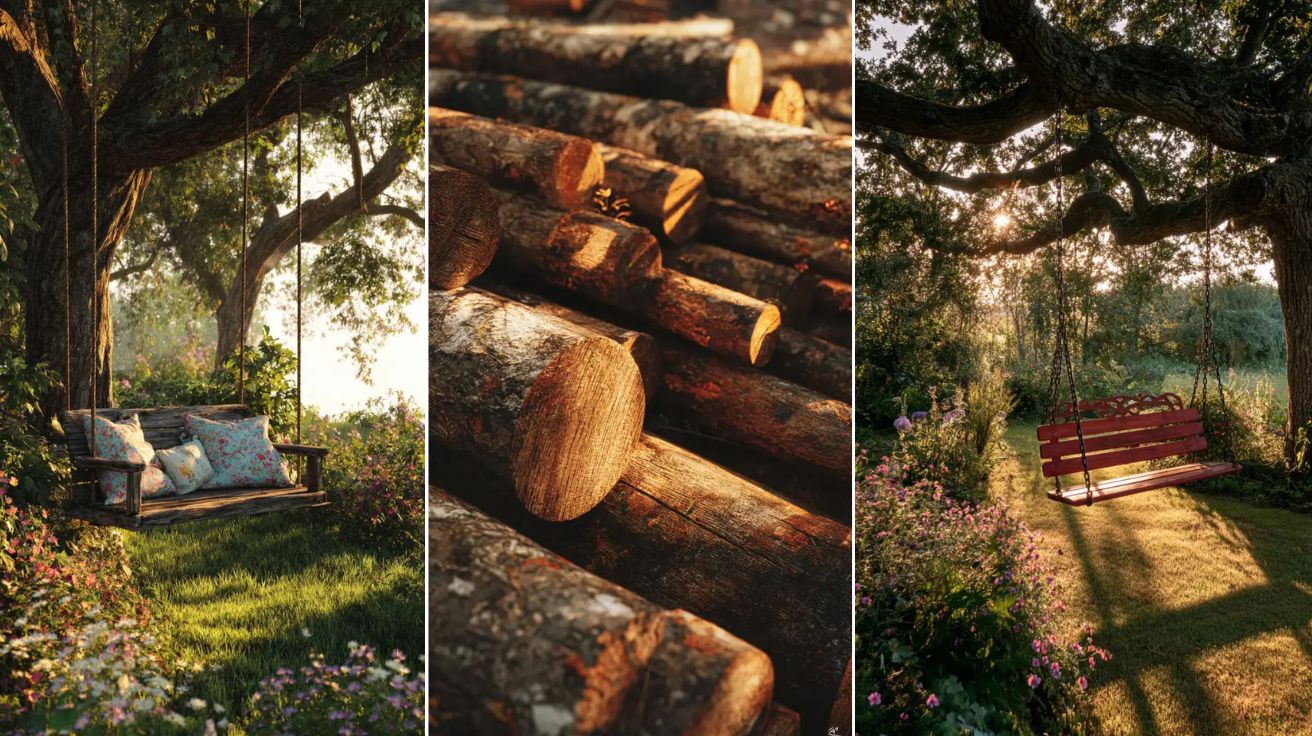
Stacked logs catch the golden light, waiting to be shaped into something useful. Before assembly starts, measure twice and mark every cut clearly. Clean, accurate lumber cuts make the rest of the project smoother and sturdier. Whether you’re using fresh timber or pressure-treated planks, prepping each board ahead of time sets the tone for a safe, long-lasting swing set build.
3. Assemble the A-Frames
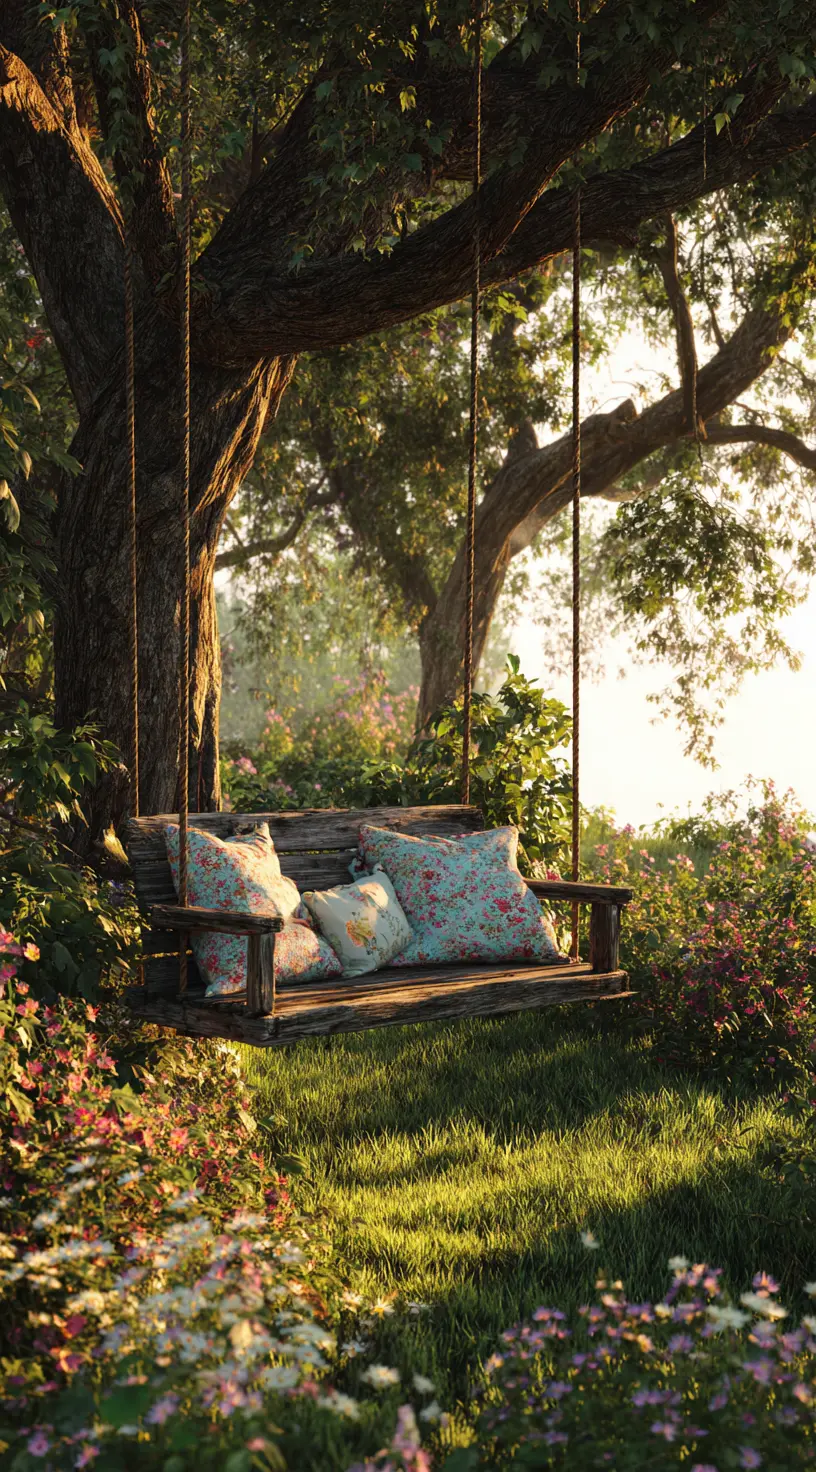
Sturdy side supports are what hold it all together. This bench swing hangs from thick rope, resting between well-anchored frames that blend beautifully into a blooming yard. To recreate this, notch and bolt your beams at clean angles, then reinforce with braces for strength. Assembling your A-frames early gives you a steady foundation the kind that keeps every swing smooth and worry-free.
4. Attach the Top Beam
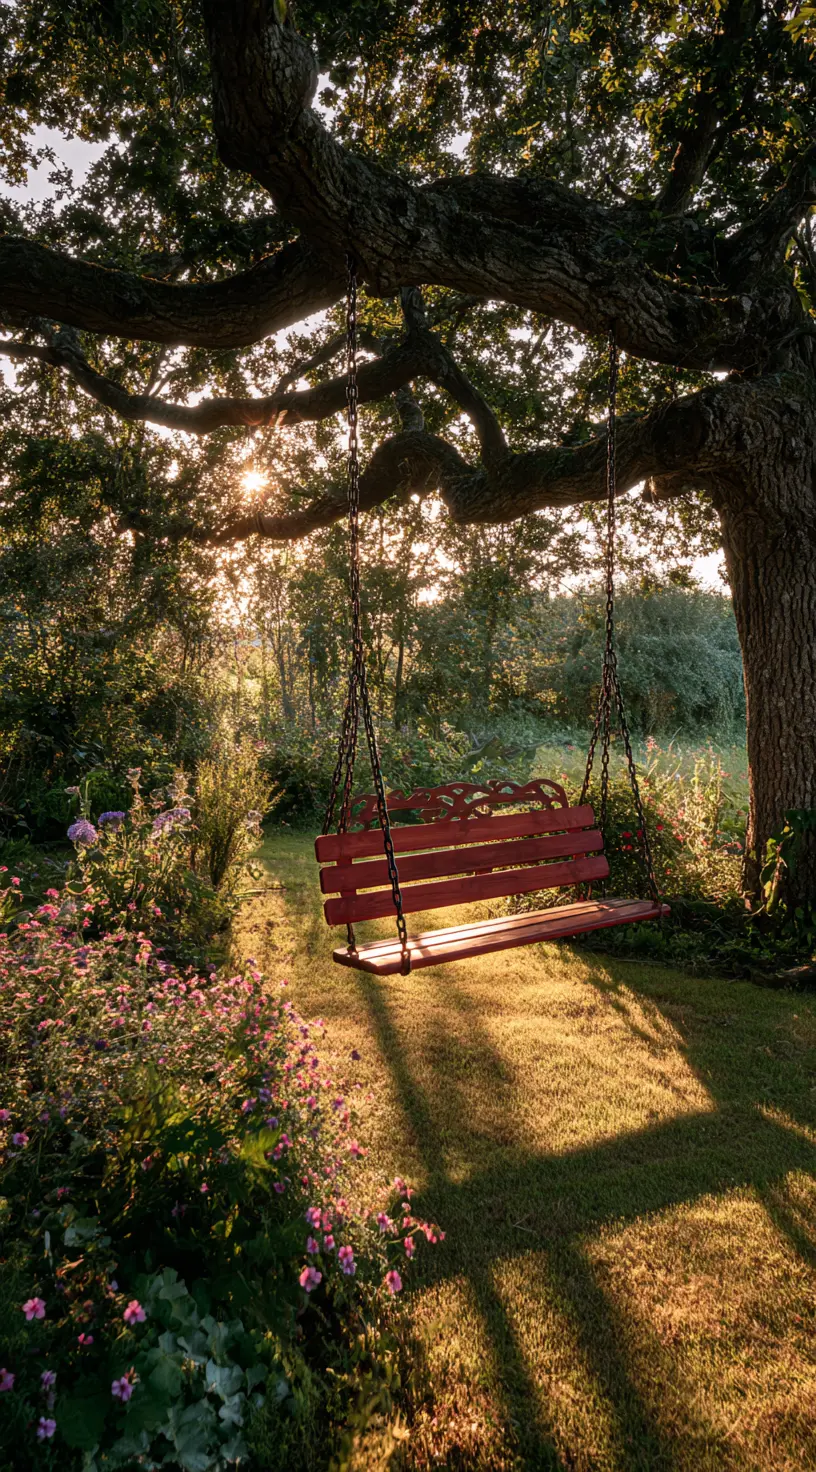
A vivid red swing hangs from thick, black chains beneath the wide arms of an old tree but in a DIY build, this role belongs to your top beam. Secure it between your A-frames with lag bolts and brackets, double-checking for level. This crossbeam carries the load, so strength and placement matter. Once it’s up, you’re one step closer to that breezy backyard escape.
5. Install the Swing Hangers
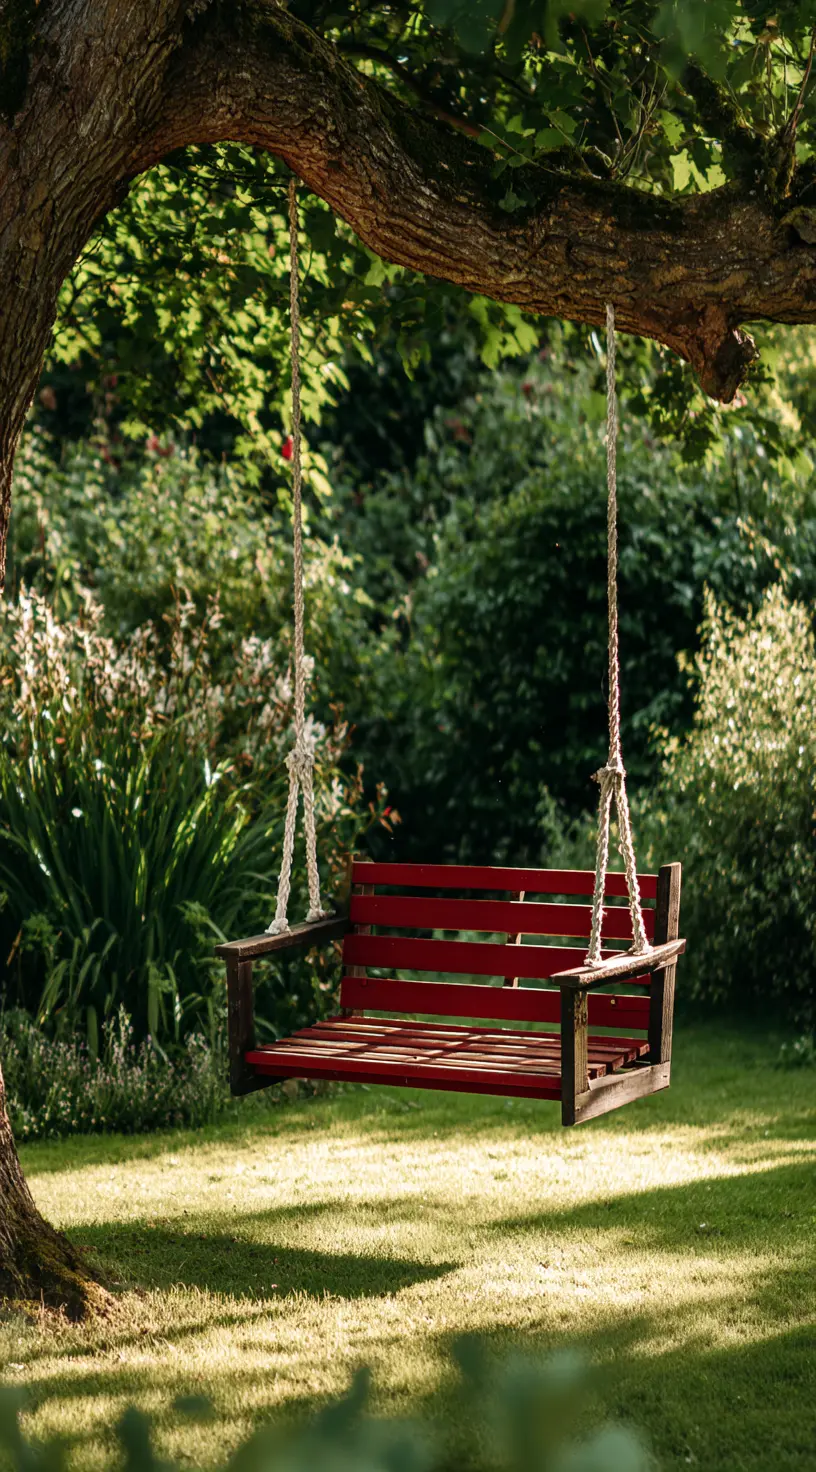
Sturdy rope supports this crimson bench swing, floating beneath a leafy tree. In your DIY setup, this is where swing hangers come into play. Position them evenly on the top beam and fasten with heavy-duty screws or bolts. Use locking carabiners or chain loops to ensure smooth movement. Safety depends on this step, so don’t rush double-check every connection before you hang the seat.
6. Hang the Swings

A bold red swing bench dangles from sturdy metal chains under a sunny sky, catching the afternoon light. At this stage, you’re ready to attach the seat to your frame or tree. Align the chains evenly to prevent tipping. Make sure every fastener is rated for weight and movement. A good hang means safe, easy swinging and a backyard that’s finally ready for fun.
7. Secure the Swing Set to the Ground
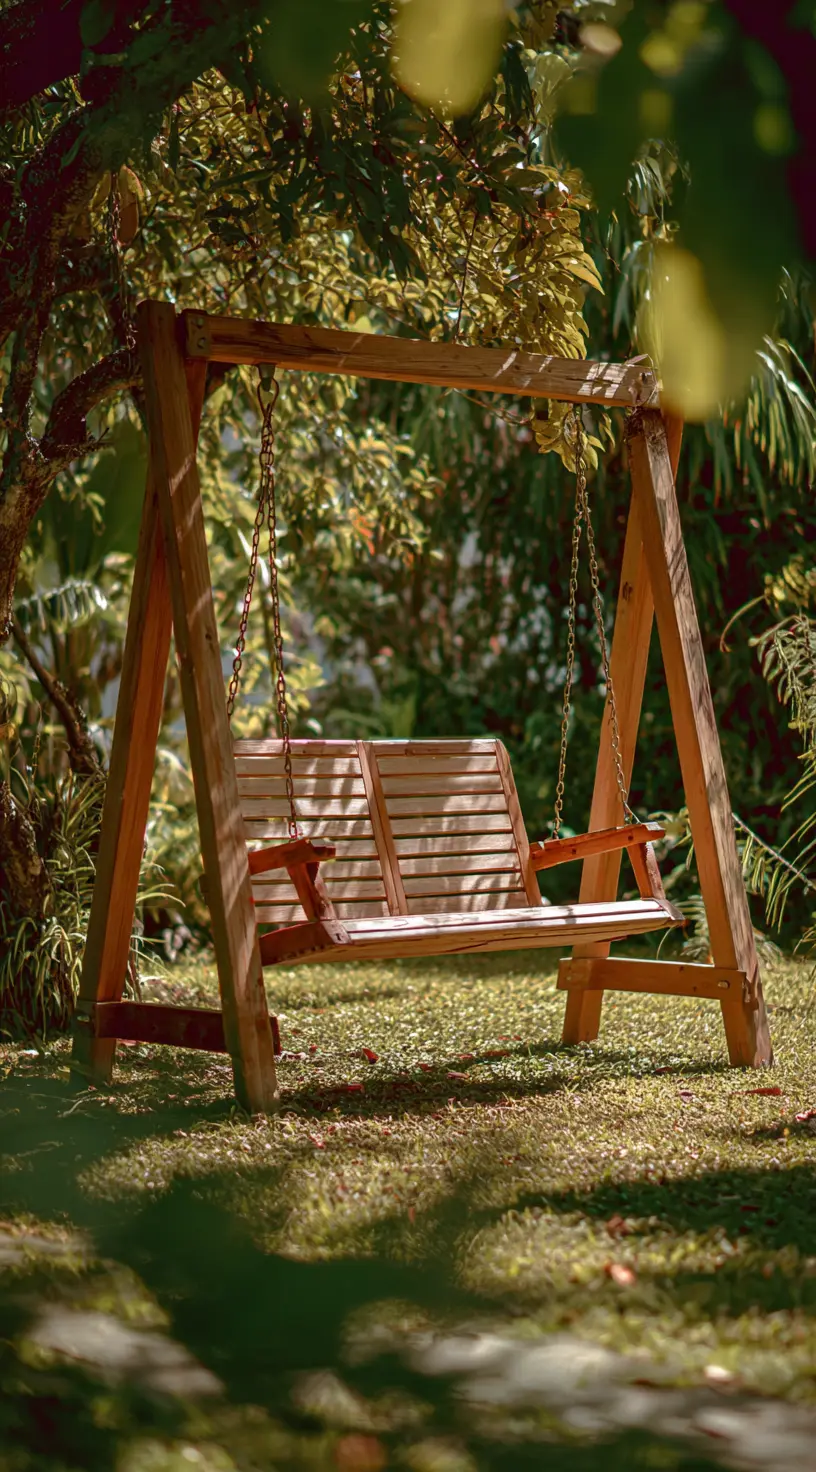
Framed in greenery, this wooden A-frame swing hints at what comes next anchoring your project. Use heavy-duty ground stakes or concrete footings to keep the base stable. Shaky foundations ruin the fun fast, so this step matters more than most. Whether on grass or gravel, anchoring protects everyone and keeps the swing steady through all the back-and-forth joy.
8. Finishing Touches
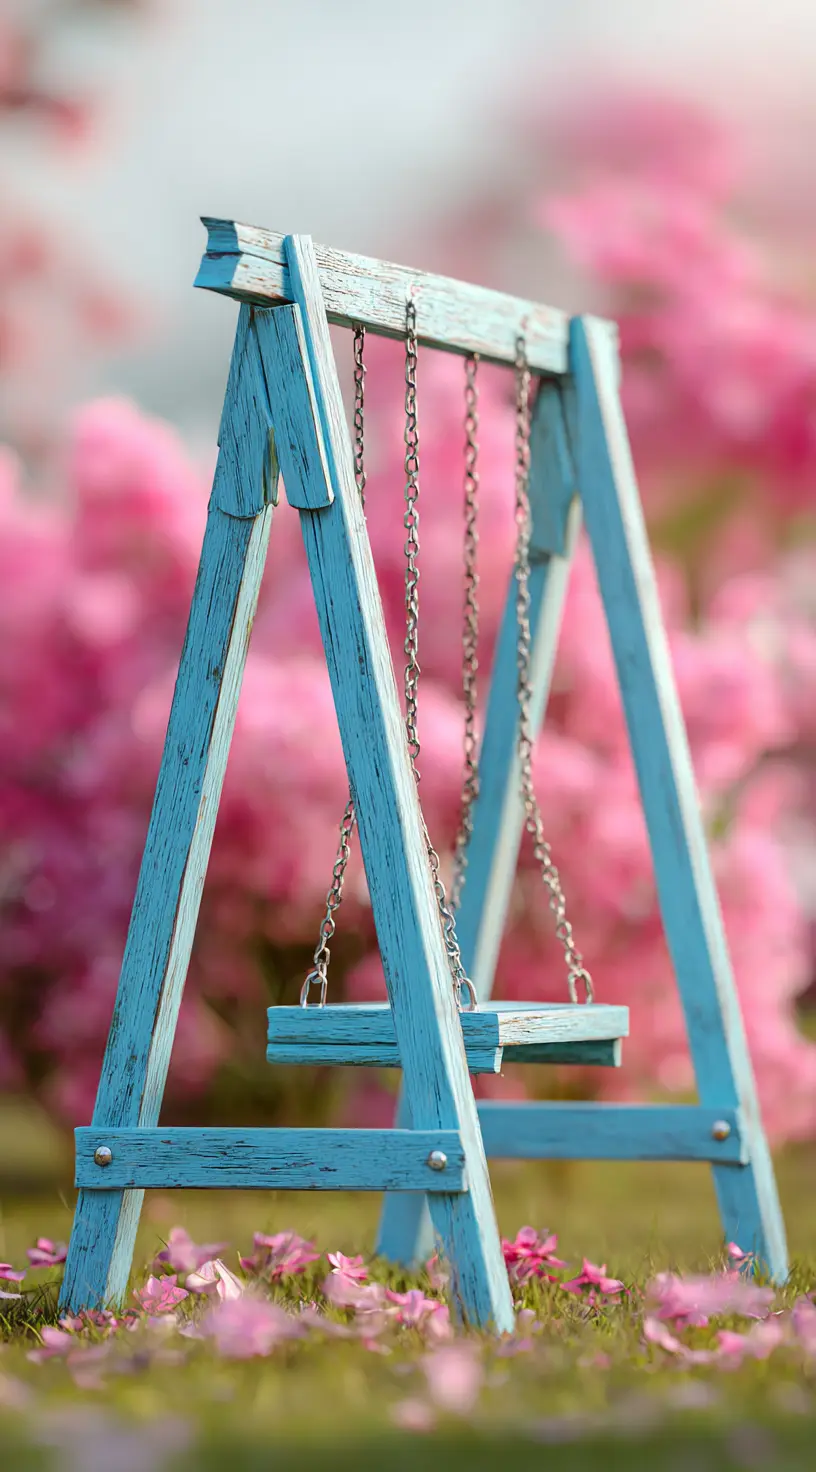
Paint brings personality to your swing set, and this blue frame proves it. A pop of color against the flowers adds instant charm. After construction is done, sanding edges, sealing the wood, and coating it with outdoor paint or stain helps it last longer. Add little touches like caps on bolts or weather-resistant hardware to keep everything looking polished and safe.