There’s something truly special about creating a little hideaway just for kids a space where imaginations can run wild and adventures begin right in your own backyard. Building a DIY playhouse isn’t just a fun project; it’s a chance to make lasting memories and give your children a magical spot they’ll cherish for years.
Whether you’re handy with tools or just getting started, building an adorable playhouse can be simpler than you think. With some basic materials, a bit of creativity, and step-by-step guidance, you can craft a charming, personalized space that fits your yard and your family’s style.
Ready to roll up your sleeves and create a playhouse that’s as delightful as it is durable? Let’s dive into how to build a backyard favorite that kids will love coming home to.
Step 1: Plan Your Playhouse Design

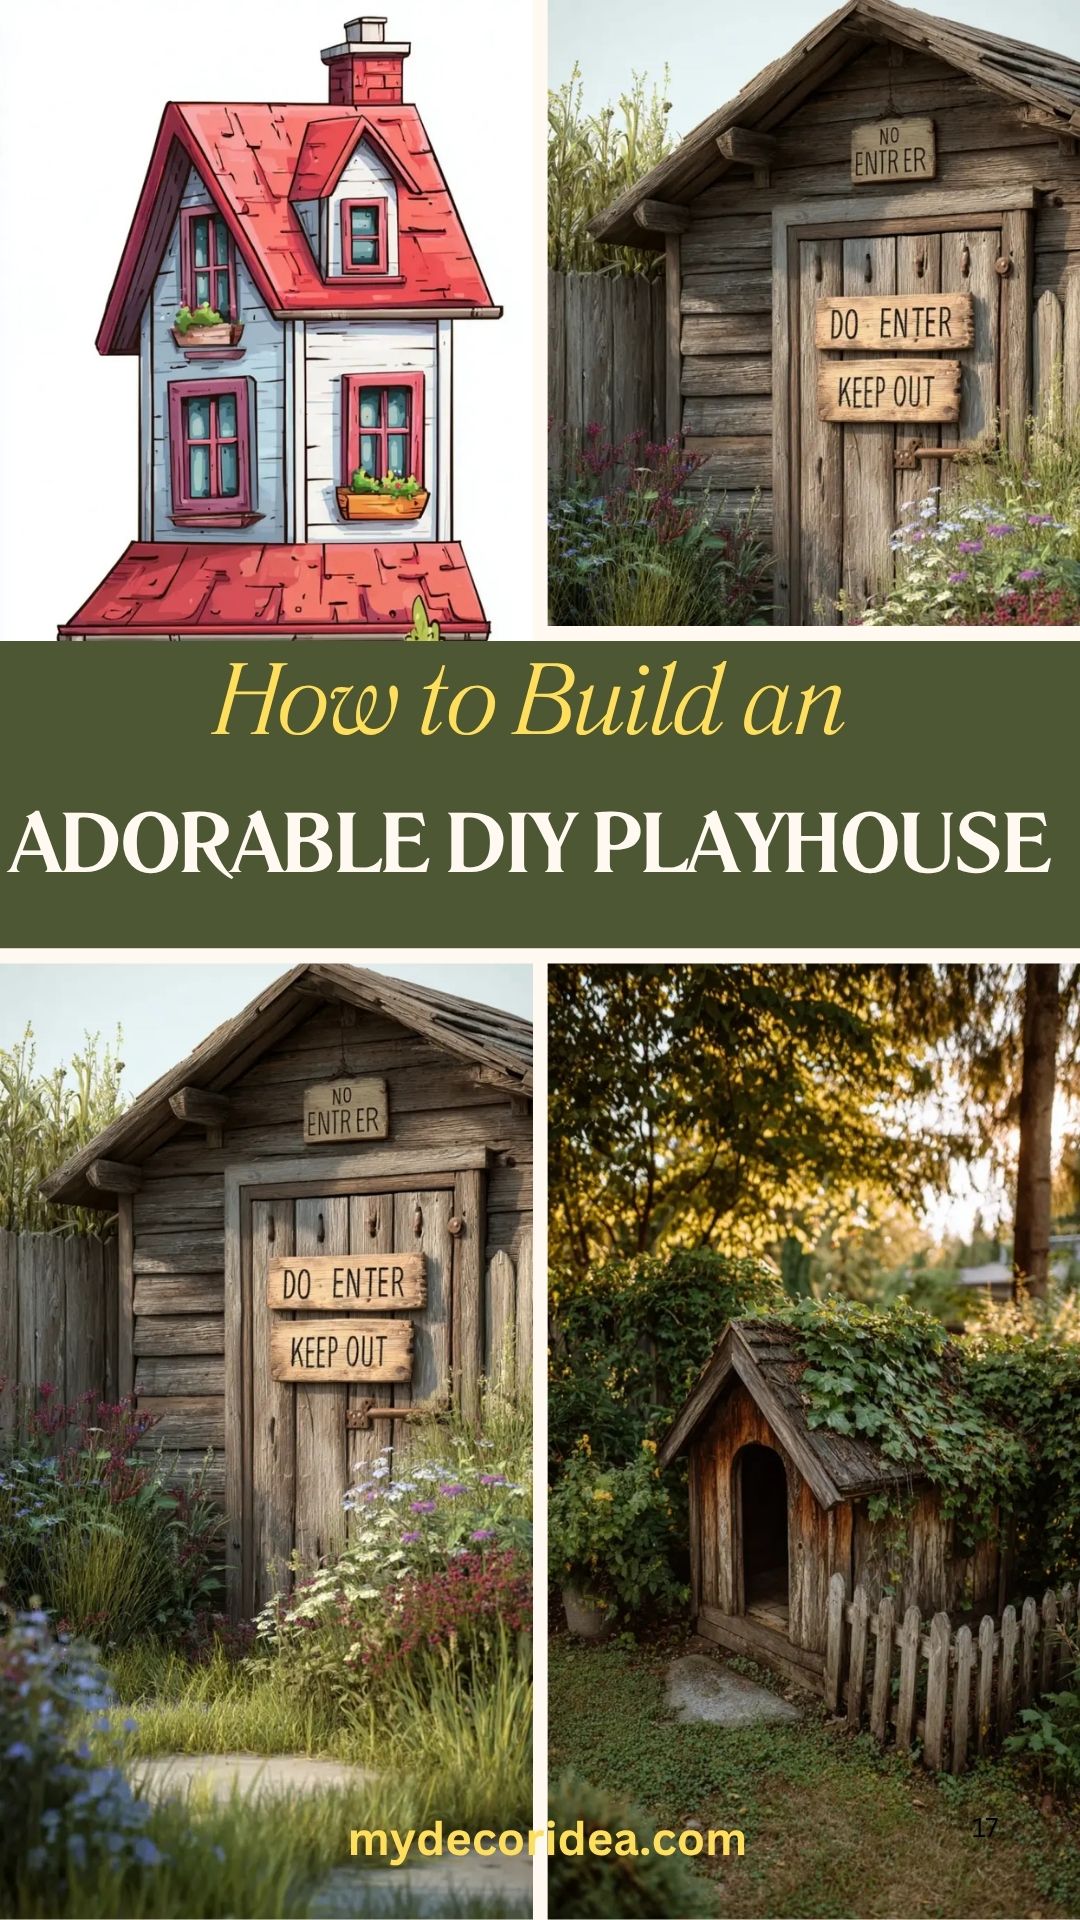
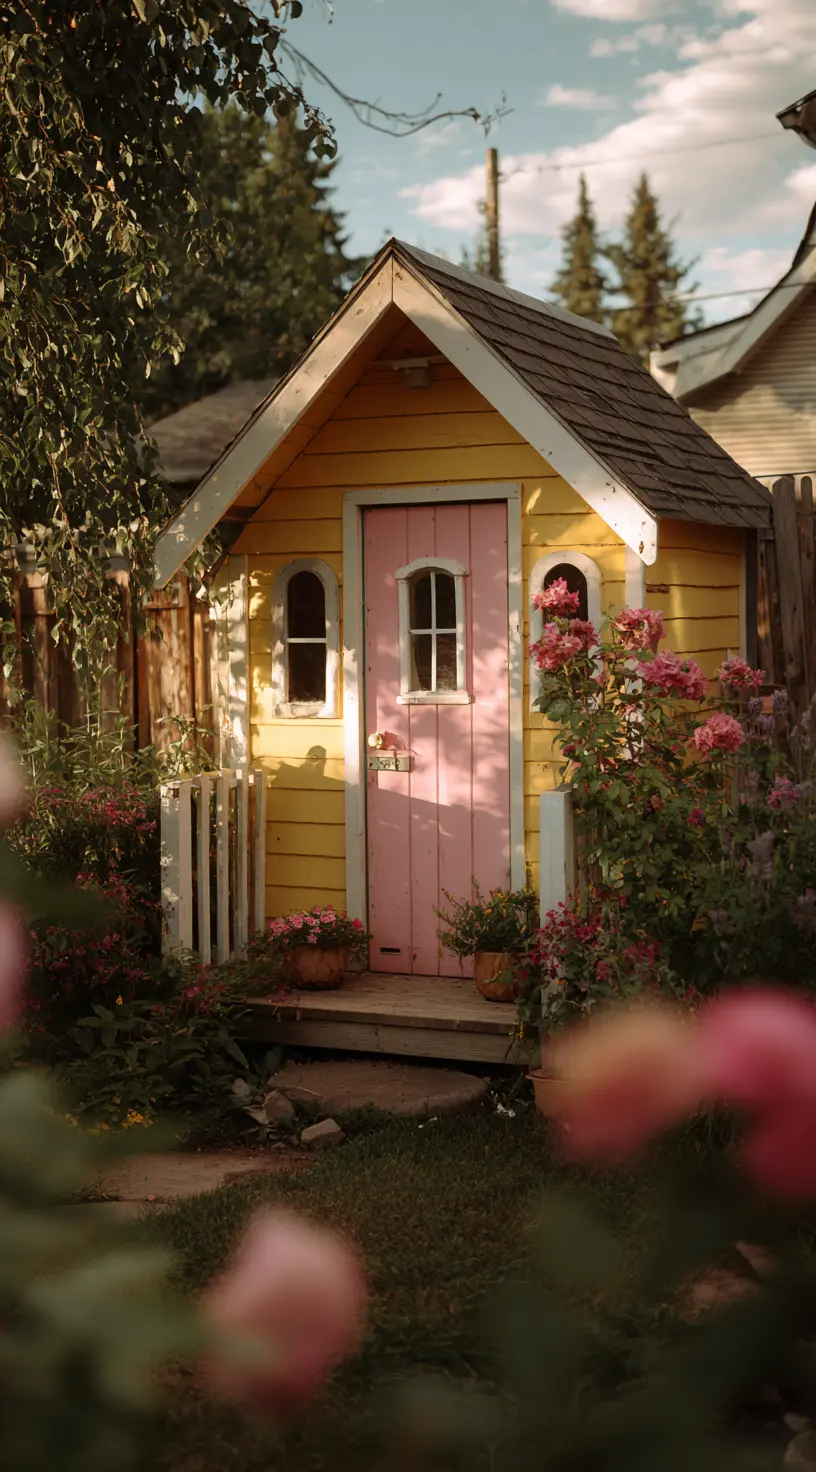
Start with a simple drawing like this cheerful red-roofed playhouse. Planning the look helps you figure out materials and space before picking up a single tool. Use bold lines, bright accents, and playful details like flower boxes to bring personality. Keep it scaled to fit your backyard, and don’t forget a welcoming front door. A good sketch makes building smoother and more fun.
Step 2: Gather Your Materials and Tools

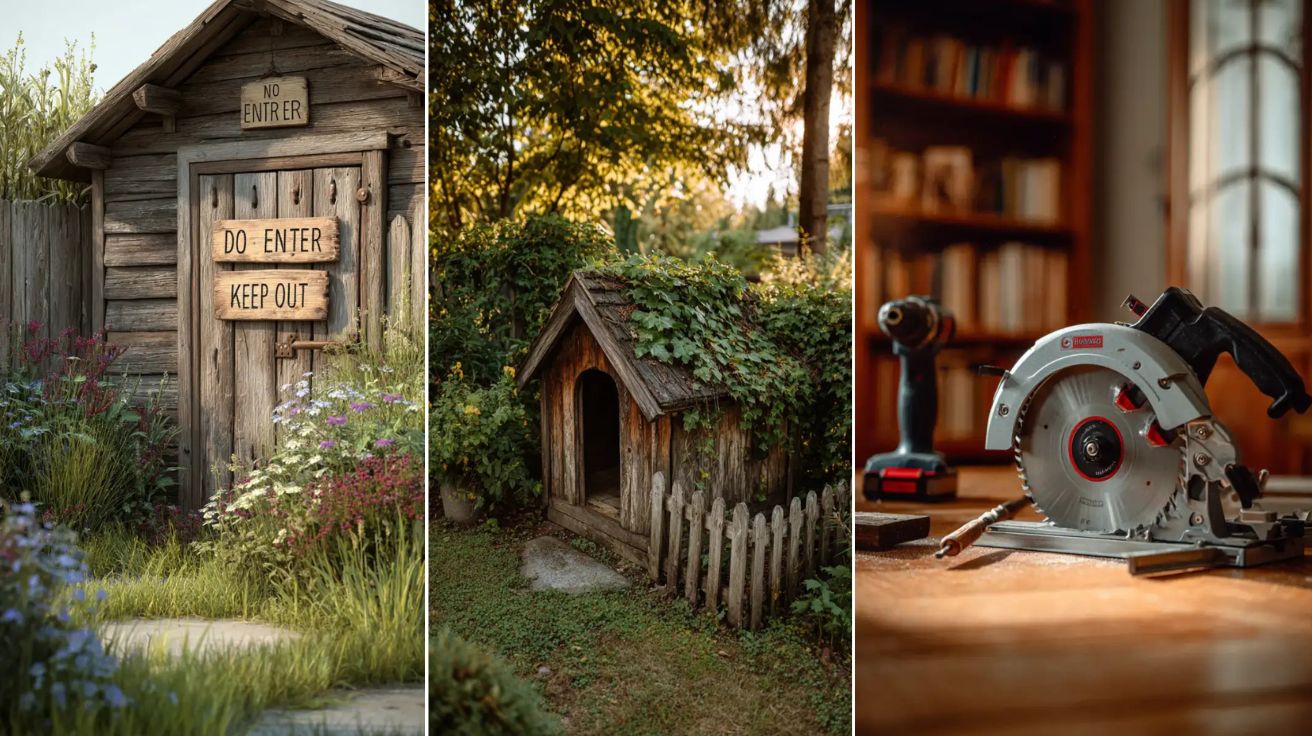
A solid playhouse starts with the right tools. This setup shows a circular saw, drill, and key bits you’ll need to get those clean cuts and strong joins. Check your toolbox ahead of time, or borrow what’s missing. Having everything within reach saves frustration and keeps your project flowing. Prep your workspace too it makes the whole experience smoother from the first board on.
Step 3: Build the Base
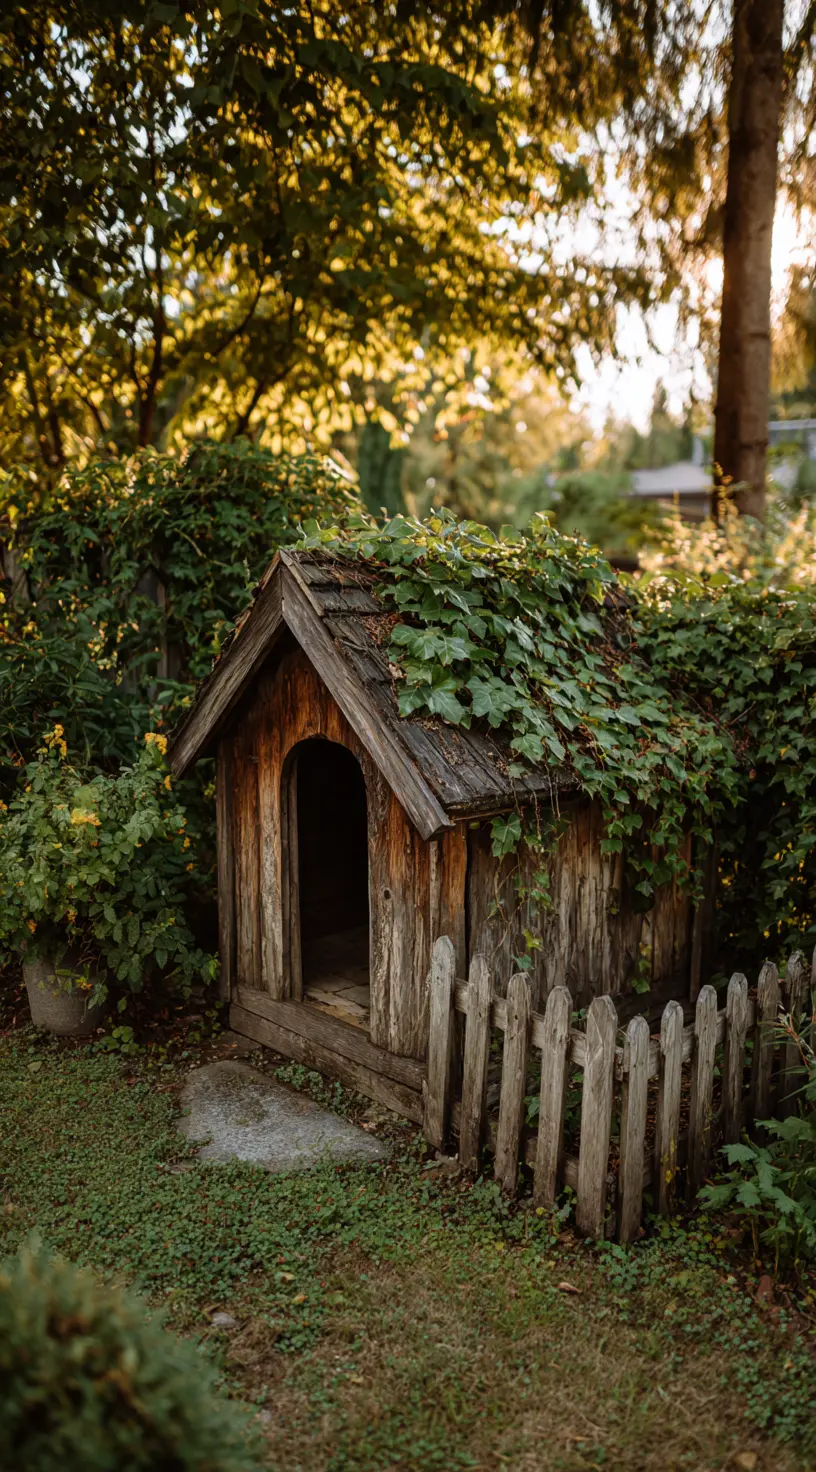
This rustic little frame shows just how cozy a playhouse can feel when grounded with care. A raised base keeps it dry and steady through the seasons. Add a few pavers or a gravel pad beneath for extra drainage. Let the wood weather naturally or stain it to match your garden vibe. Even a simple floor brings a whole lot of structure to your backyard project
Step 4: Frame the Walls

The charm’s in the details and this quirky wall frame proves it. Rough-hewn boards add a cozy, storybook feel while the playful signs give it a sense of ownership and imagination. Frame your walls with standard 2x4s and add character with salvaged wood or paint. Don’t forget a sturdy door bonus points if it’s got kid-approved warnings like “Keep Out” or “Secret Club Only.”
Step 5: Add the Roof
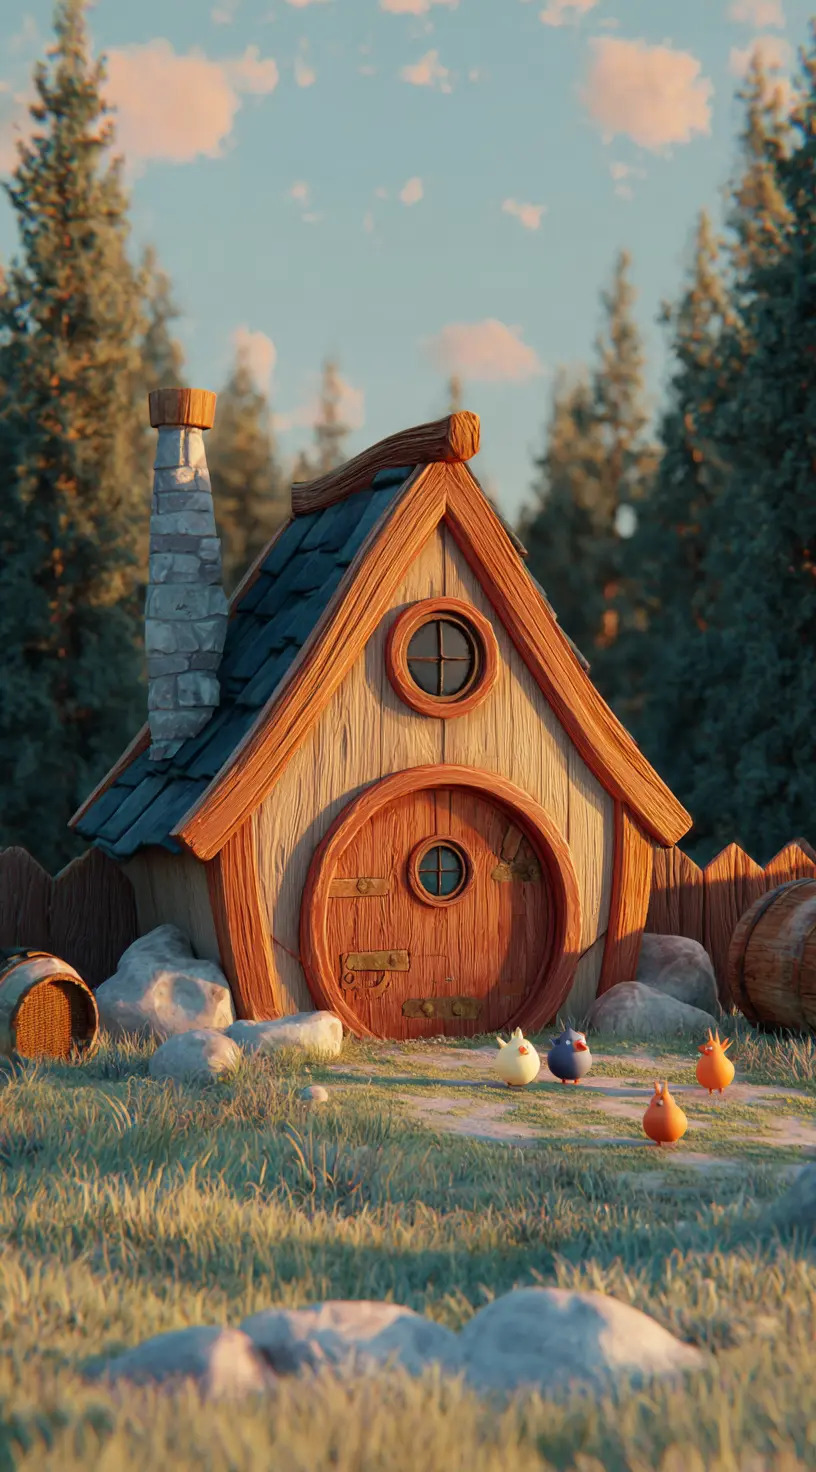
This fairy-tale roof turns a basic build into something straight out of a storybook. Curved beams, a round window, and rustic shingles all work together to create charm with serious backyard curb appeal. Use plywood and cedar shakes or shingles to mimic the effect. Add a chimney or quirky trim if you’re feeling bold because magic always lives in the details.
Step 6: Install the Door and Windows
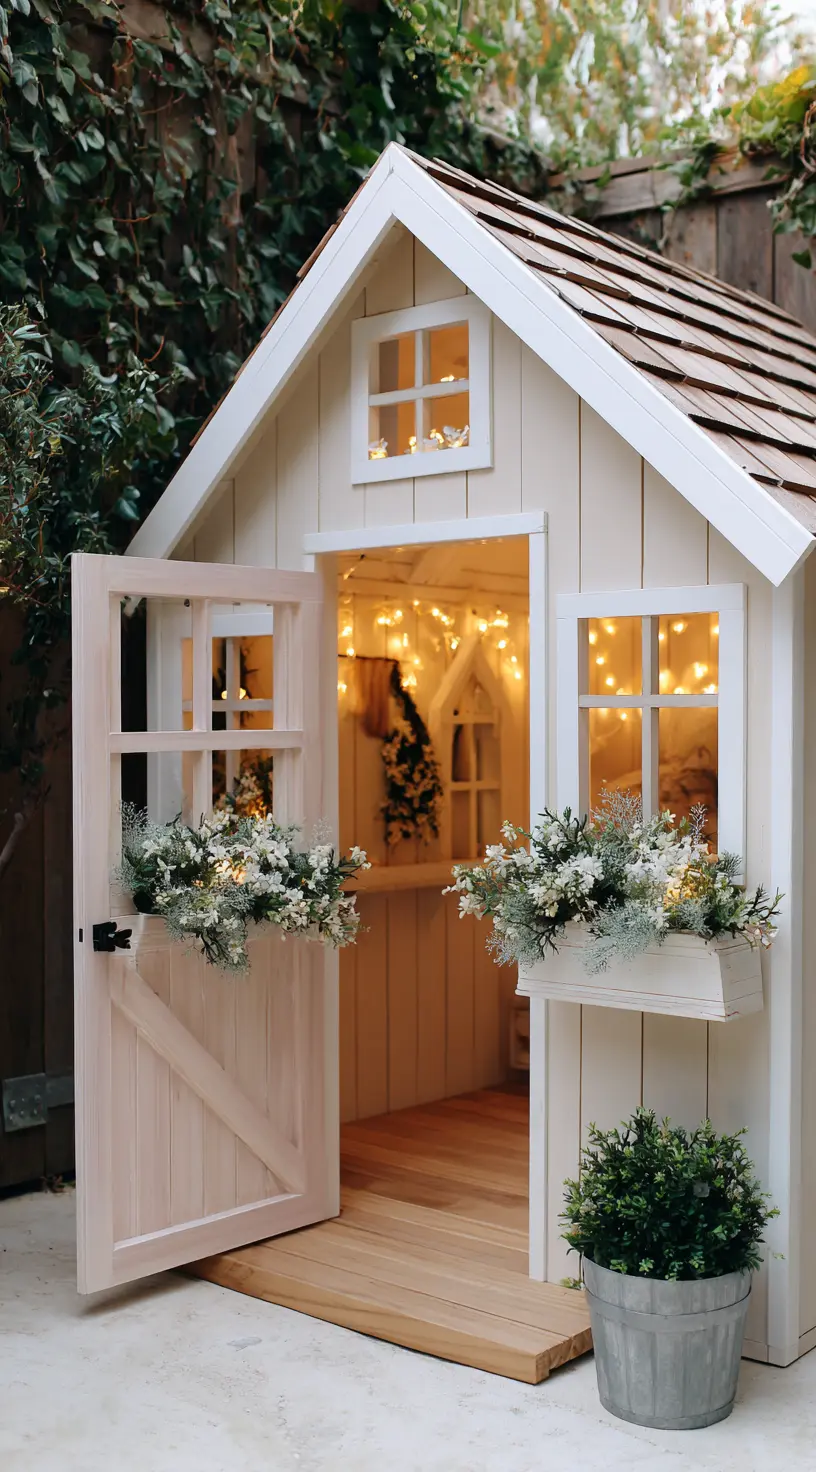
A Dutch door adds instant charm while still keeping things simple for weekend builders. This setup uses trimmed-out windows and flower boxes to boost the cottage feel. Add battery-powered fairy lights inside to make the space cozy at dusk. Paint the trim in a soft tone to complement the wood siding and don’t forget those tiny hardware touches for extra personality.
Step 7: Paint and Personalize
A Dutch door adds instant charm while still keeping things simple for weekend builders. This setup uses trimmed-out windows and flower boxes to boost the cottage feel. Add battery-powered fairy lights inside to make the space cozy at dusk. Paint the trim in a soft tone to complement the wood siding and don’t forget those tiny hardware touches for extra personality.
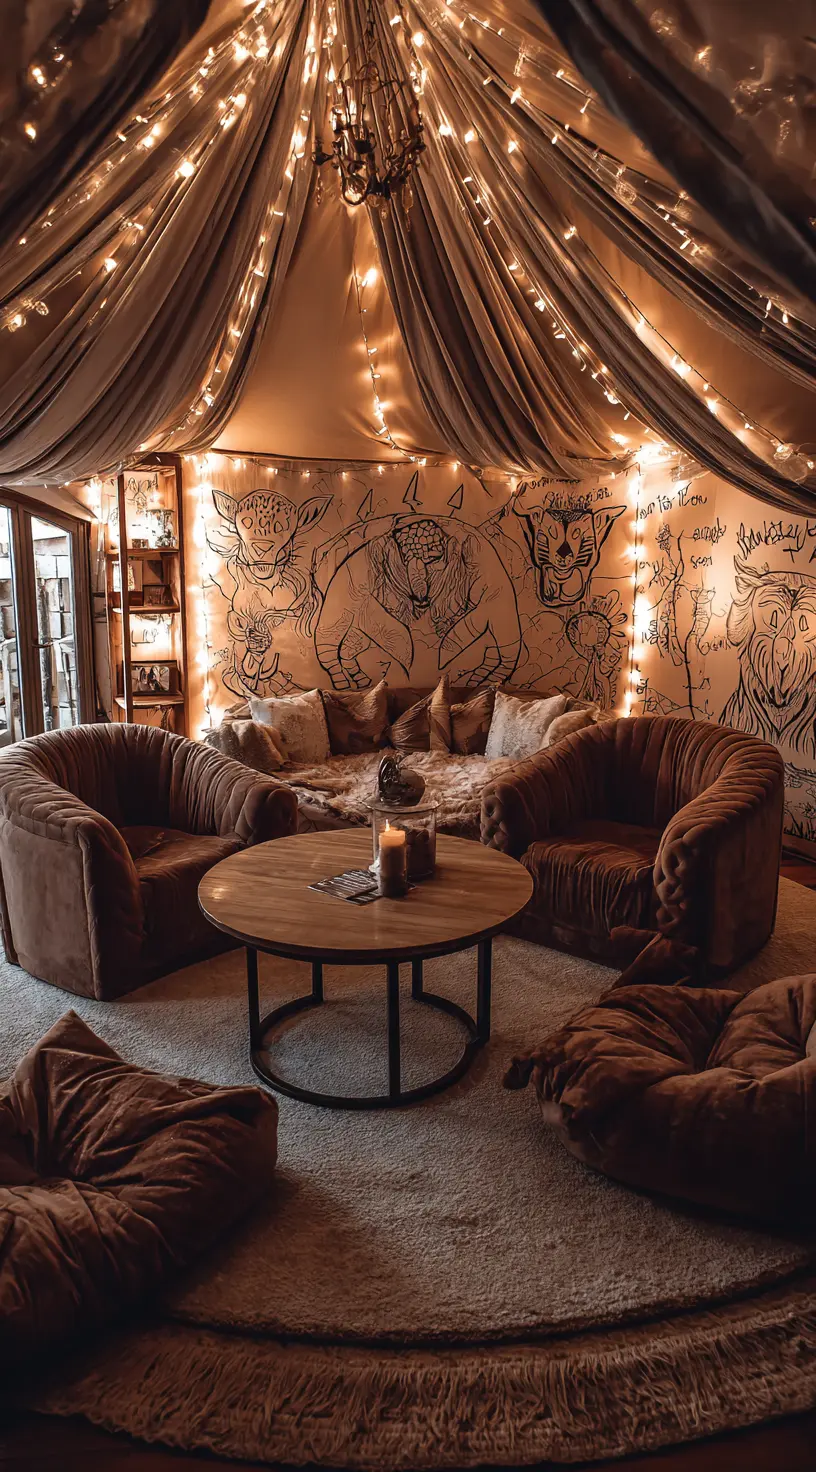
Step 8: Decorate the Inside
This fairy-tale roof turns a basic build into something straight out of a storybook. Curved beams, a round window, and rustic shingles all work together to create charm with serious backyard curb appeal. Use plywood and cedar shakes or shingles to mimic the effect. Add a chimney or quirky trim if you’re feeling bold because magic always lives in the details.